In the first part, we created a simple web server and page. We didn’t even touch Phaser! However, that is about to change. In the second part of this series, we create a game area in an HTML div and draw some simple text on it using Phaser.
Directory Structure
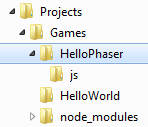
In your Games directory, create another folder named HelloPhaser. Much like HelloWorld in the previous example, this will house our HTML and JavaScript files for serving the web page and game. Within HelloPhaser, create directory named js. This folder will hold all of our JavaScript.
Install Phaser
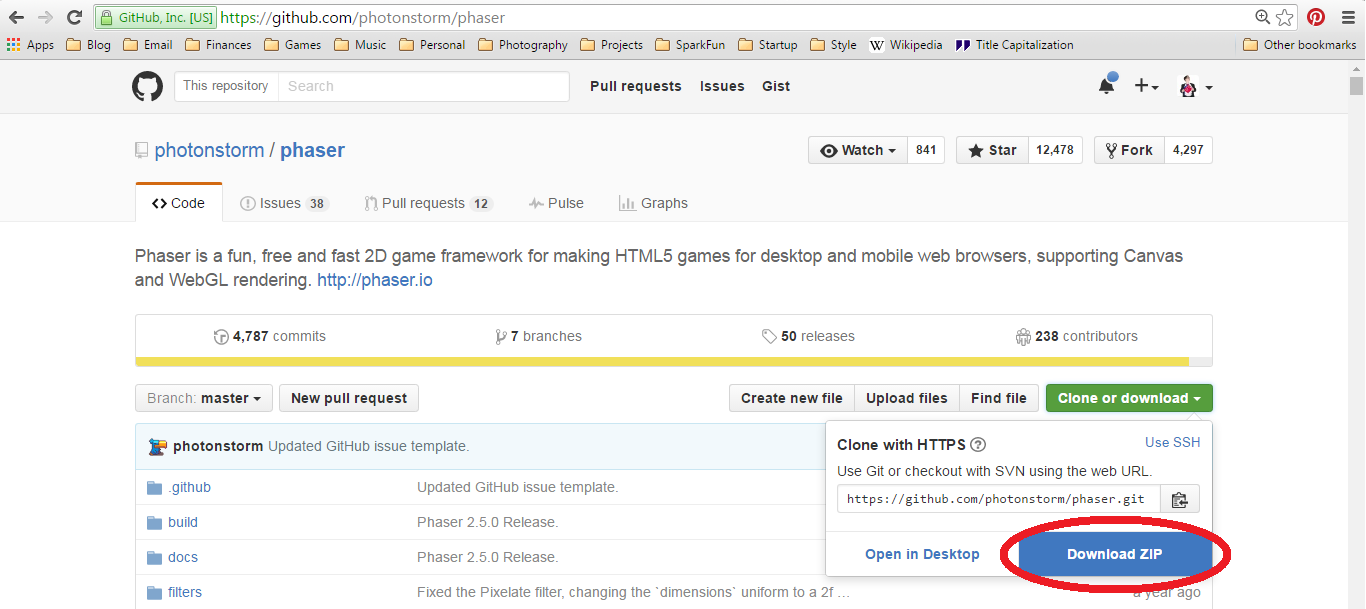
To install Phaser, we are going to download the library and simply copy it to our js directory. Start by navigating to Phaser’s GitHub page, and click Clone or download followed by Download ZIP.
Once downloaded, unzip the file. Find the unzipped directory, and navigate to phaser-master/phaser-master/build. There, copy the file phaser.min.js. Go back to your Projects directory and paste the file in Games/HelloPhaser/js.
Create the Web Page
Create a new text document and copy in the following (note: I recommend manually typing each line so you get a feel for writing HTML and JavaScript. I’ll talk about what the code does after the code block).
<!DOCTYPE HTML>
<html>
<head>
    <meta charset="utf-8" />
    <title>Hello</title>
    <style>
        body {
            background: #FFFFFF;
        }
    </style>
    <script src="js/phaser.min.js"></script>
</head>
<body>
    <div id="area"></div>
    <script src="js/start.js"></script>
</body>
</html>
Save the document as index.html in Games/HelloPhaser.
This file acts as our basic web page. Its primary purpose is to set up a game area (div) on the page and load in JavaScript. The JavaScript handles the bulk of the drawing in the game area.
In the <head> section, we use some simple CSS via the background property to set the web page’s background color to white (#FFFFFF). See this table for colors and their hexadecimal codes. We also load in the Phaser library using the <script> tag.
In <body>, we define a <div> and name it “area.” We will reference this div later in our JavaScript code and draw Phaser objects in it. Finally, we load in another script, named “start.js,” which is where our main game code will live. We have not written start.js yet; that comes next.
Write Some JavaScript
Create a file and copy in:
// Create a new Phaser game object with a single state that has 3 functions
var game = new Phaser.Game(500, 500, Phaser.AUTO, 'area', {
    preload: preload,
    create: create,
    update: update
});

// Called first
function preload() {
}

// Called after preload
function create() {

    // Create some text in the middle of the game area
    var helloText = game.add.text(250, 250, 'Hello, Phaser!', {
        fontSize: '32px',
        fill: '#00F'
    });
    helloText.anchor.set(0.5, 0.5);
}

// Called once every frame, ideally 60 times per second
function update() {
}
Save the file as start.js in Games/HelloPhaser/js.
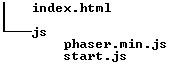
At this point, you should have index.html in your page’s directory (HelloPhaser). Under the js directory in HelloPhaser, you should have phaser.min.js and start.js.
Let’s look at what the code is doing. In the very first line (after the //… comment), we create a Phaser.Game object and assign it to the the variable game . Phaser.Game is predefined in the Phaser library (documentation on it can be found here), and it is the core of the Phaser framework.
The first two parameters for Game define the resolution of the game area. In this case, we set it to 500 pixels wide and 500 pixels high. I’m a big fan of square game areas, as it works well on desktop and mobile devices without needing to skew the graphics when switching between portrait and landscape modes. Feel free to change it for your application, though.
The next parameter, Phaser.AUTO, sets the renderer for the game area. As of the time of this blog post, there are three types available:
- Phaser.CANVAS – Canvas element for drawing 2D graphics. Canvas is supported on most modern browsers.
- Phaser.WEBGL – Use hardware-accelerated graphics to draw on the canvas. Some browsers support WebGL, and the user’s device must have the requisite hardware. 3D graphics are possible with WebGL.
- Phaser.HEADLESS – Do not use any renderer. This is useful when you don’t want any graphics (such as running a game server).
In general, Phaser.AUTO is advisable, as it initially tries to use WEBGL and if the browser does not support it, the renderer reverts back to CANVAS.
The fourth parameter, ‘area’, tells the Game object where to draw. In this case, it is creating a canvas inside the div named ‘area’ (remember how we created a <div> element with the id “area” in our HTML?). If you leave this parameter blank, Phaser will simply append the Game object to the page.
The fifth parameter is the initial game state. If this parameter is set, Phaser will immediately start running the functions in this state. Note that Phaser supports multiple states in a game, and these can be things like start screen, game play, game over screen, menus, etc. For now, we will only use one state. Examining this state object, we see:
{
    preload: preload,
    create: create,
    update: update
}
Phaser states have a number of reserved names for functions. We are using preload , create , and update . We assign the functions (similarly named preload, create, and update) to the specially named keys, which are defined by Phaser.
The state will first run preload() , which is generally where assets like sprites and sounds are loaded. Since we don’t have any assets, the function is left blank. The function is still explicitly written here for the sake of clarity; we will add code to it later.
Second, the state will automatically run the create() function once the preload has finished. This is where you can draw sprites, text, add key handlers, and so on. We add a single line of text, “Hello, Phaser!” to the game area, set at (250, 250), which is the middle of the area. We set the text’s anchor to (0.5, 0.5), which changes the origin point for the text to its center. For anchors, (0, 0) is the top left, and (1, 1) is the bottom right.
Finally, we define the update() function. This function is automatically called every frame, and it is where we would put things like input polling, checking for collisions, etc. Because our “game” is just static text right now, there is no need to have anything happen in the update function.
Run It!
Open up a command prompt, navigate to your Games directory, and run the server (note that we need to specify HelloPhaser as our web page directory):
cd <PATH_TO_PROJECTS>/Games
node SimpleServer.js HelloPhaser/
Open up a web browser and navigate to http://localhost:4242. You should see your game (albeit a rather boring game):
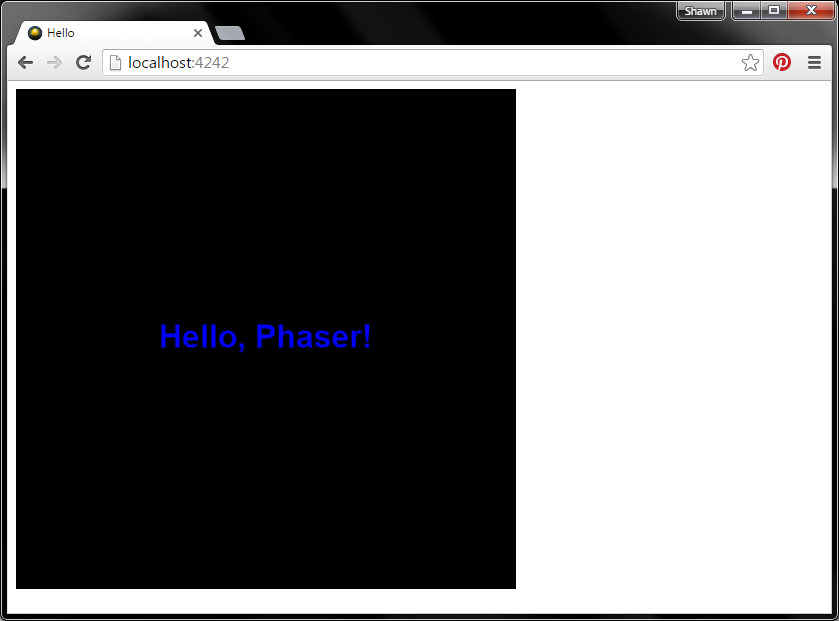
You can’t do much with this game, as we have not added any type of input handling or graphics updating. That will come next.
Conclusion
While it was not much of a game, we did use the Phaser framework to create some text in a canvas element, which is a huge step! This template (index.html, phaser.min.js, and start.js) will form the basis for future tutorials. You can simply copy phaser.min.js into your other games, although I recommend checking Phaser’s GitHub page for updates regularly.
If you are new to JavaScript, I highly recommend working through some chapters in the book Eloquent JavaScript (it is the book I used to teach myself JavaScript). The book is available online for free as well as in paperback copy on Amazon.
Continue to Part 3 to learn how to create sprites and add movement with key presses.
Hiya, I followed all of the instructions for drawing text and everything works except the text isn’t showing up. I just see a black 500×500 square. What am I missing?
Which version of Phaser are you using? This tutorial is almost 2 years old, so I imagine there are some properties/functions that are out of date at this point. Sadly, I haven’t kept up with Phaser, so I’m not sure what changes were made, but if you’re on Phaser 3, I recommend checking out their “Getting Started” guide: http://phaser.io/tutorials/making-your-first-phaser-3-game/index.