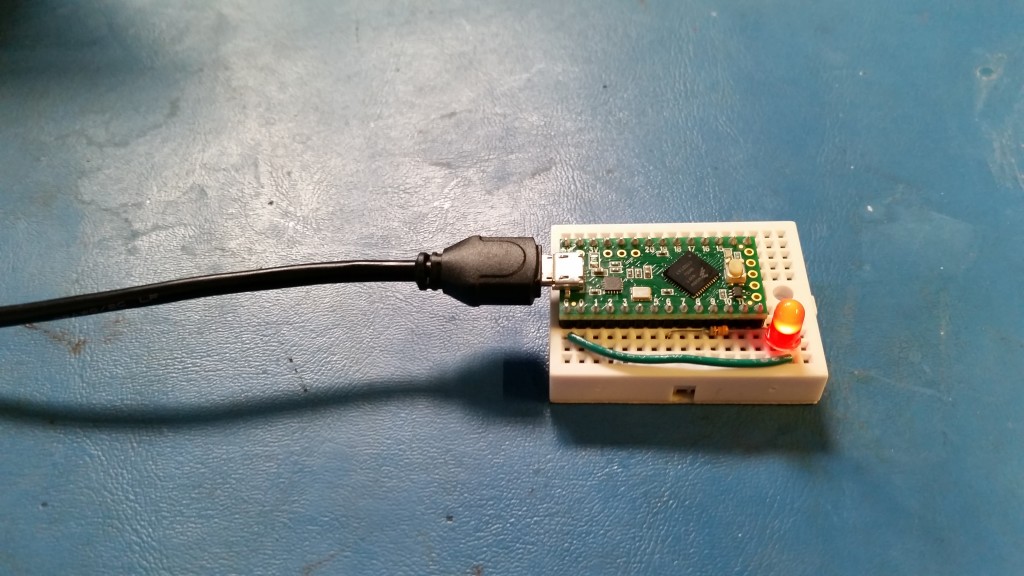
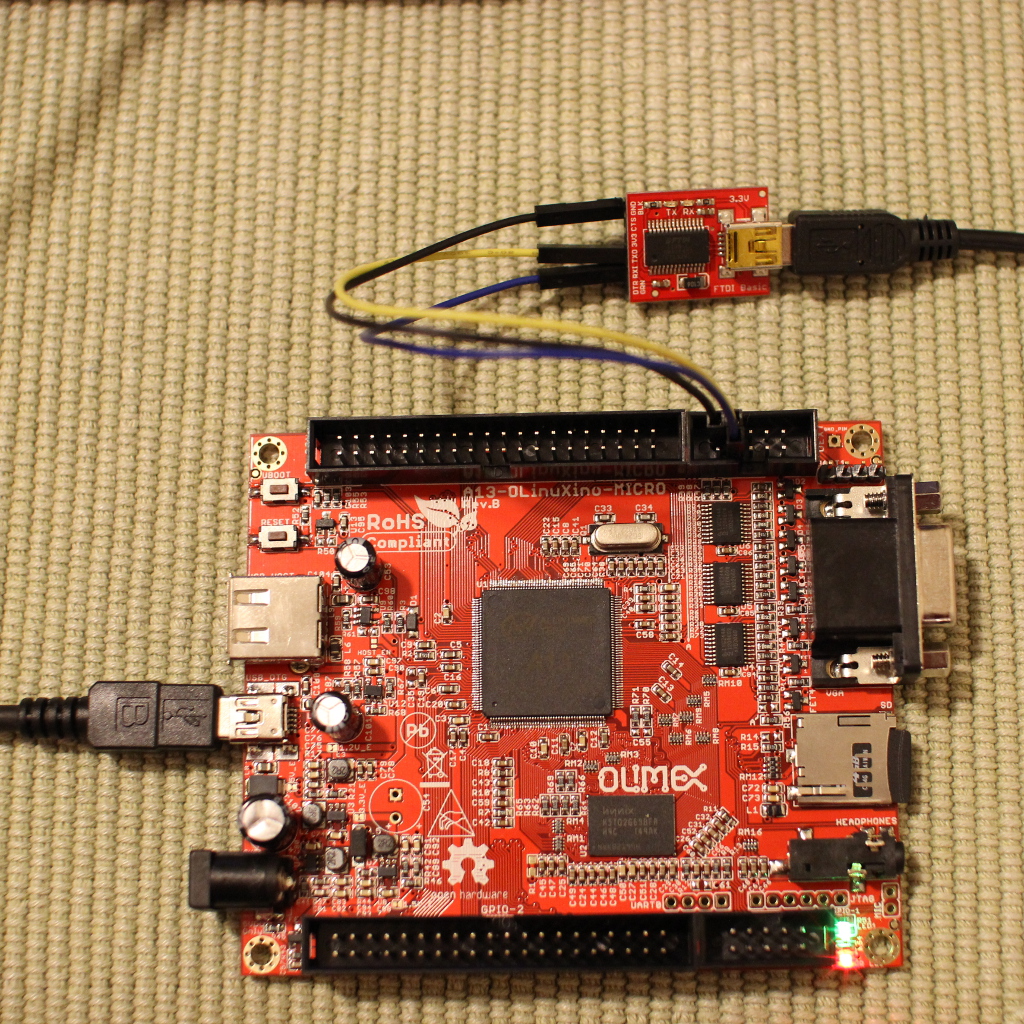
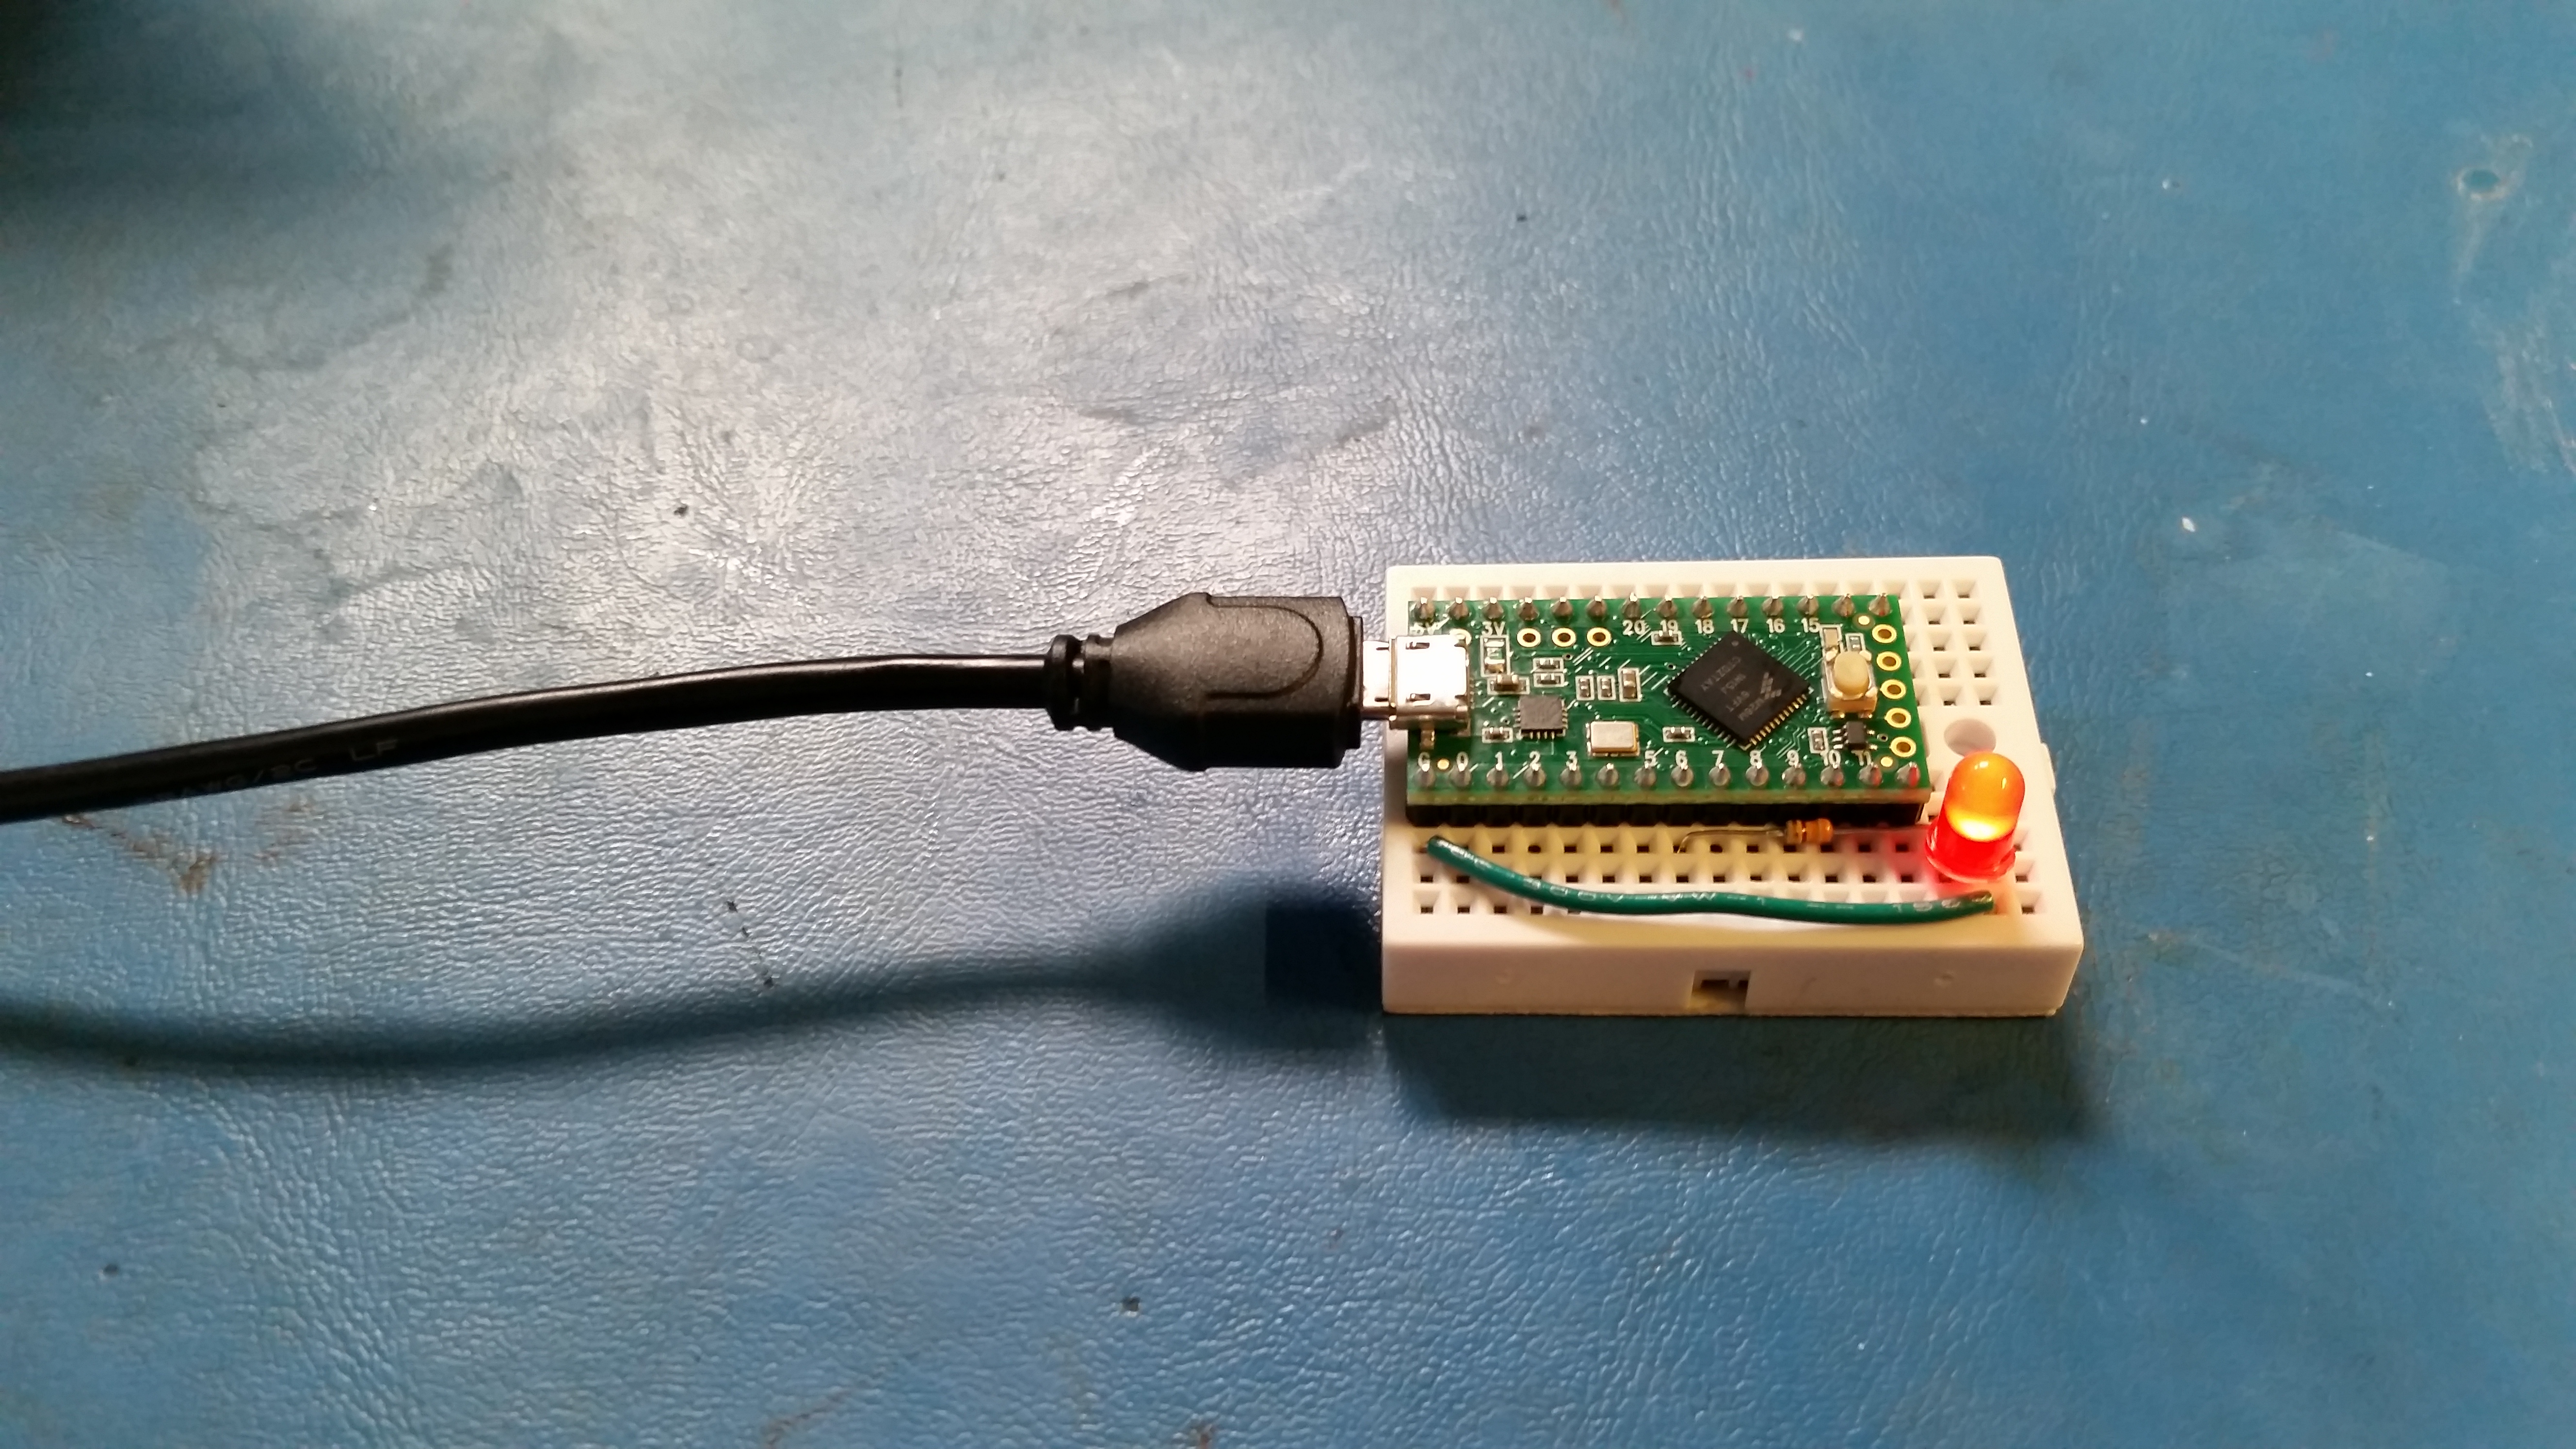
The Teensy LC doing PWM the hard way

Learning the Teensy LC: Manual PWM

Teensy_LC_PWM

I’m in the process of learning how to use the Teensy LC, which is the newest Arduino-compatible module from PJRC. It is built around the MKL26Z64VFT4 (ARM Cortex-M0+), which can be had for around $2.20 for 100 (according to Digi-Key). I really like the microcontroller, as it is much more powerful than the ubiquitous ATmega 328p (not that I don’t like the 328p) for about the same price.

The awesome people at PJRC have gone through the process of creating a set of libraries and hardware definitions so that you can program the entire Teensy line from Arduino. It is quite slick, and if you have not tried it yet, I suggest you give it a shot. It does require installing some software on top of the Arduino IDE, but it opens up the world of ARM to Arduino users.

Because I have decided to use the Teensy LC (or, more specifically, the MKL26Z64VFT4) for a personal project, I wanted to learn how to manually set up interrupts. As it turns out, ARM interrupts are more complicated than the interrupts found in most ATmega processors. More importantly, I wanted to learn how to do this from the Arduino IDE (because reasons). PJRC still has many of the labels for registers and bit fields set to the Teensy 3.1, which work well enough for the Teensy LC, but might not be correct.

Continue Reading

Quick Tip: Reading Fuse Bits in an Arduino

If you are playing around with avrdude and fuses in an Arduino, you might run into an error like:

avrdude: safemode: lfuse reads as 0
avrdude: safemode: hfuse reads as 0
avrdude: safemode: efuse reads as 0

This is because the Arduino bootloader cannot access fuses in the ATmega. To fix this, we can use another Arduino as an in-system programmer (ISP).

Continue Reading

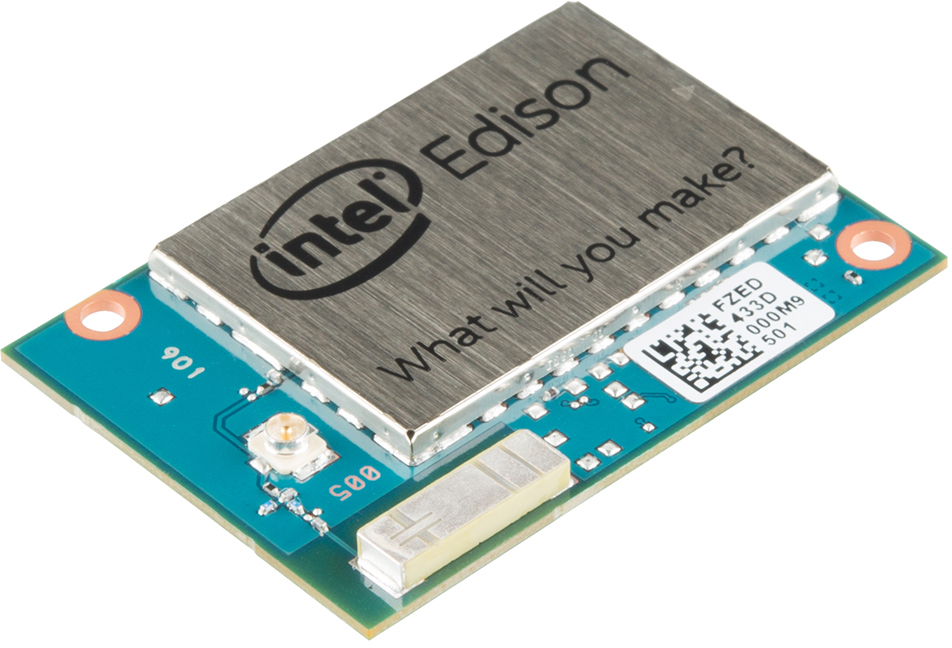
Creating a Custom Linux Kernel for the Edison

[Edit – 12/20/15] – This guide is now out of date. A new walkthrough showing how to build a custom Linux image with the Yocto Project and Edison source code (release 2.1) can be found here.

Intel Edison image courtesy of SparkFun Electronics

If you want to add custom options to the Edison Linux kernel, you will need to compile it from source and enable the options you want. This tutorial is based on Intel’s Edison BSP User GuideVijayNooki‘s post in the Intel Forum, and hammock‘s post in the Intel Forum.

You will need to perform these steps on a Linux host machine with apt-get installed (e.g. Ubuntu).

Continue Reading
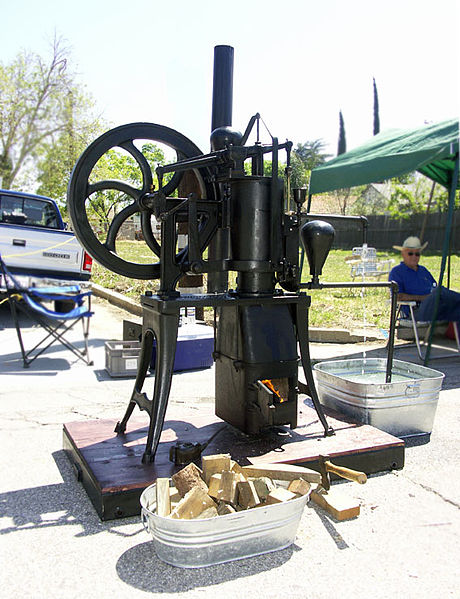
Stirling Engine example courtesy of Wikimedia Commons

Classroom Project: DIY Stirling Engine

Stirling Engine example courtesy of Wikimedia Commons

 Stirling engine example (“Ericsson style hot air engine” by Rob Skinner on wikipedia.org)

This past week, we had the president of Cool Energy, Sam Weaver, speak to us at work about his commercial Stirling engines. I had known about Stirling engines for a while but was unsure on their specific operation. Sam gave a great talk along with an educational demonstration of a small, tabletop engine.

That’s when it dawned on me. What about having students build their own version of a tabletop Stirling engine? It’s a great way to show how the expansion and contraction of a gas can be transformed into rotational energy.

Continue Reading

How To Give the Olimex A13-OLinuXino-MICRO a Static IP Address

If you’ve been following along, you should have a basic Debian Linux installation on your Olimex A13-OLinuXino-MICRO board and able to connect to WiFi. Make sure that the SSID and WPA password settings are correct in the /etc/wpa_supplicant/wpa_supplicant.conf file. See my guide on setting up WiFi with the A13-OLinuXino-MICRO and scroll down to the section on configuring wpa_supplicant.

Assuming you’re able to login to the OLinuXino and connect to a WiFi access point, we can change the default of DHCP to a static IP address.

Continue Reading

Configure an SD Card Image for Better Compression

If you’re working on a Linux image for your single board computer (e.g. Raspberry Pi, OlinuXino, BeagleBone Black, etc.) and you notice that the compression of gzip sucks for the backup image, you need to re-format the SD card. For example, I created a Debian image on a card, which was partitioned for the whole 4GB. Now, we know that only the first few megabytes will be used, and the rest will be empty. However, if you’ve previously used the card (or you might see this with a factory-fresh card), the rest of the card will not be zeros. This will result in a poor compression ratio. My 4GB compressed to 3.1GB. Not great.

Continue Reading

How To Backup an SD Card Image

Backing up an image for the Raspberry Pi, BeagleBone Black, OLinuXino, etc.

Let’s say you’re trying to build Linux for your single board computer, and you need to back up the operating system (which, more than likely, is on an SD card). With a relatively small SD card (say, 4GB), you can copy the whole card, zip it, and be able to store/share the image file. It also makes restoring pretty simple.

Continue Reading

Getting Started with the Olimex A13-OLinuXino-MICRO

Building Debian Linux for the Olimex A13-OLinuXino-MICRO

A13-OLinuXino-MICRO_FTDI

References

https://olimex.wordpress.com/2012/10/12/building-bootable-sd-card-with-debian-linux-image-for-a13-olinuxino/

https://www.olimex.com/forum/index.php?topic=790.0

Install required packages

I like sudo, as it prevents me from doing stupid stuff. However, feel free to use “sudo su” if you don’t feel like typing “sudo” for half the commends. If you just copy and paste the commands, however, it really doesn’t matter.

Continue Reading