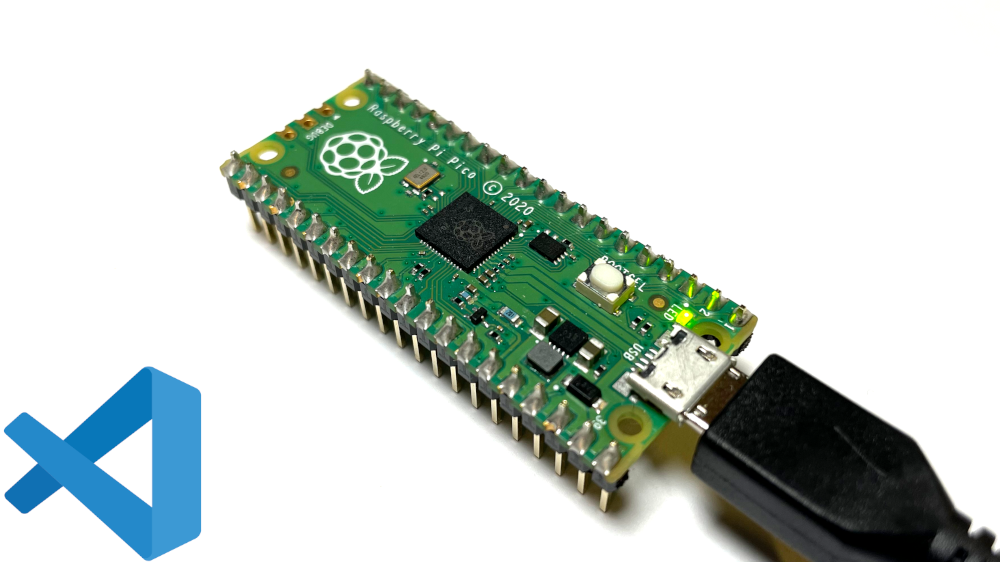
This tutorial will show you how to install the Raspberry Pi Pico toolchain on Windows 10 for C and C++ development.
Raspberry Pi has a fantastic getting started guide for the Pico that covers installation steps for the major operating systems. On Linux (specifically, most flavors of Debian), you can run a single script that will install everything for you. On macOS, you need to use Homebrew to install the toolchain, which is only a few commands in the terminal.
Windows, however, is a different story. Installing the toolchain is an arduous process, requiring multiple programs and manually modifying the Windows Path. The Raspberry Pi Pico getting started guide shows you how to do this, but I have issues with two parts: you need to install Build Tools for Visual Studio (around 6 GB) and you must run VS Code from within a Developer Command Prompt every time.
This guide walks you through an alternative way of installing the C/C++ toolchain for the Pico, using MinGW in place of the Build Tools for Visual Studio. Note that this guide is meant for intermediate/advanced users; it assumes you have some familiarity with environment variables in Windows and CMake.
Important! There are a lot of steps in this guide, and missing one will likely cause things to fail down the road. Take your time, and slowly perform each step in order. I recommend setting aside around 2 hours to complete the setup. If something does not work, return to earlier sections to ensure you performed each step correctly. Don’t ignore errors! Something that did not install correctly likely means the tool won’t work later.
[Update Sep 27, 2024] This guide still technically works if you use Windows Command Prompt to run CMake and Make. If you use Git Bash, you’ll likely get the error: mingw32-make[2]: *** [CMakeFiles\blink.dir\build.make:1341: blink.elf] Error -1073741819. I have not yet figured out how to solve this issue. As an alternative, you might want to try the official Raspberry Pi Pico VS Code plugin: https://github.com/raspberrypi/pico-vscode.
Directory Setup
With the exception of CMake and Python, we will want all of our tools and SDK files to exist in one folder on Windows. This setup will make it easy to configure the Path and find things later on.
Create a folder named VSARM in the top level of your C drive.
In C:\VSARM, create the following folders:
- C:\VSARM\armcc
- C:\VSARM\lib
- C:\VSARM\mingw
- C:\VSARM\sdk
Note that this directory structure is similar to how you might set up other Arm compiler tools and SDKs (such as this STM32 toolchain setup). You should be able to keep all of your Arm development tools in the VSARM directory and have them coexist with other tools and SDKs.
We use these short, one-word folder names to keep paths short and to avoid spaces. Some Unix/Linux tools (that have been ported to Windows) do not work well with paths that have spaces in them.
Install GNU Arm Embedded Toolchain
The GNU Arm Embedded Toolchain contains the Arm GCC compiler that we need to compile C and C++ code for the RP2040.
Head to the GNU Arm Embedded Toolchain download page and download the latest installer for Windows. For me, this was gcc-arm-none-eabi-10-2020-q4-major-win32.exe.
[Update Apr 19, 2022] I have verified that Arm GNU Embedded Toolchain 11.2-2022.02 works.
[Update Sep 27, 2024] The Arm GNU Toolchain download page has moved here. Download the AArch32 bare-metal target (arm-none-eabi) executable (.exe) for your operating system (Windows host in this case). I have verified that this guide still works with arm-gnu-toolchain-13.3.rel1-mingw-w64-i686-arm-none-eabi.exe.
Run the installer. When asked, change the installation location to C:\VSARM\armcc. It will auto-fill the destination directory to the name of the current toolchain release.
Continue with the installation process. When it is complete, select the option to Add path to environment variable.
At this point, you should be able to call any of the Arm compiler tools in a new command prompt, such as arm-none-eabi-gcc.exe.
Install MinGW-w64 GCC Tools
MinGW (short for Minimalist GNU for Windows) is a collection of open-source utilities, such as compilers and linkers, that allow us to build applications for Windows.
When we build Pico projects, we need to compile the elf2uf2 and pioasm tools from source. These tools run on our computer (not the target RP2040 microcontroller), and we need a native compiler and linker. The original Getting Started guide has us install Build Tools for Visual Studio to get a Windows compiler (cl.exe), linker (link.exe), and make tool (nmake.exe). We’re going to use the open-source GNU suite (e.g. gcc, ld, make) for Windows instead.
[Update Apr 19, 2022] Note: at this time, the MinGW (.exe) installer appears to be broken. You will likely see the error message “The file has been downloaded incorrectly!” As a result, I have updated the portion below to download only the MinGW-W64 GCC files (tested with v8.1.0), as that’s all we need to compile Pico programs (this no longer applies, as I have updated the instructions–see Sep 27, 2024 update).
[Update Sep 27, 2024] The SourceForge files have been reorganized, and you can no longer find the pre-compiled binaries for Windows (at least for newer versions of MinGW). As a result, I have updated the instructions below to show how to work with the latest version of MinGW (14.2.0 at the time of writing).
Head to https://github.com/niXman/mingw-builds-binaries/releases, which hosts the latest, pre-compiled binaries for MinGW. Download the x86_64-X.X.X-release-win32-seh-ucrt-rt_vY-revZ.7z (where X.X.X, Y, and Z are the respective release, version, and revision numbers). This was tested with: x86_64-14.2.0-release-win32-seh-ucrt-rt_v12-rev0.7z.
Unzip the file into the C:\VSARM\mingw directory. Windows 11 should be able to handle .7z files natively now. If not, you can download the 7-zip utility. Uncheck the named unzip directory so that when everything unzips, you should have C:\VSARM\mingw\mingw64.
When it’s done, open a Windows Command Prompt and enter the following into the terminal:
echo mingw32-make %* > C:\VSARM\mingw\mingw64\bin\make.bat
This creates a wrapper batch file that will call the mingw32-make tool whenever you type make into a Windows terminal. We will update the Windows Path to find all of the tools in mingw64\bin (along with this .bat file) in a later step.
Install CMake
CMake is a tool that helps you automate the build process of programs. It does not build/compile (like Make does), but rather, it can generate the directory structures and files needed for any build system (Make, Qt Creator, Ninja, etc.). The Raspberry Pi Pico SDK relies on CMake to help create these build files.
Head to the download page on CMake’s site.
Important! There is a bug in CMake version 3.20 (at the time of writing). On the second run of make or nmake (after running cmake), the process will fail. If you’re using nmake, you’ll get an error like fatal error U1033: syntax error : ':' unexpected
, or if you’re using mingw32-make, something like *** multiple target patterns. Stop.
To prevent this, install CMake version 3.19. Future versions of CMake may fix this bug, but for now, know that version 3.19 worked for me.
[Update Apr 19, 2022] I have verified that CMake 3.23.1 now works. The bug has been fixed.
Download the latest installer for Windows (cmake-3.30.4-win64-x64.msi as of Sep 27, 2024).
Run the installer and accept the user license. On Install Options, select Add CMake to the PATH environment variable.
Continue the installation process, accepting all the defaults. Note that this will install CMake to C:\Program Files\CMake, which is fine, as it will be used as a system-wide tool (not just for VSARM projects).
Install Python
The Pico SDK relies on Python to script and automate some of the build functions.
Important! At the time of writing, the Pico SDK recommends Python version 3.9. I do not know if other versions will work.
[Update Apr 19, 2022] I have verified that Python 3.10.2 works.
[Update Sep 27, 2024] I have verified that Python 3.12.6 works.
Head to the downloads page on the Python site. Download the latest Python 3.9 (or 3.10) installer.
Run the installer. On the first screen, make sure that Install launcher for all users (recommended) is checked and check Add Python to PATH.
Click Install Now and wait while it installs Python.
At the end of the installation process, select the option to disable the path length limit.
Important! If you were not asked to disable the MAX_PATH length limit, you will want to make sure that long paths are enabled. The Pico SDK (and many other SDKs) often have long, nested folders, resulting in pathnames that exceed the original Windows limit (260 characters).
To enable long paths, search for regedit in the Windows search bar and run the Registry Editor program. Navigate to Computer\HKEY_LOCAL_MACHINE\SYSTEM\CurrentControlSet\Control\FileSystem
and add an entry (if one is not already there) for LongPathsEnabled
. Change Value data to 1 and Base to Hexadecimal.
Here is a full guide if you need help modifying the registry to disable the pathname limit.
Install Git
Git makes downloading the Pico SDK much easier, and the Windows version comes with Git Bash, which is a super useful shell. We can change the shell in VS Code to Git Bash so that the command line works just like in Linux. Note that you will need Git installed (with or without Git Bash), as some of the CMake commands require it when configuring a project.
Head to the Git SCM download page and download the latest installer for Windows (e.g. 32-bit Git for Windows Setup).
Run the installer. When you get to the screen asking you to choose a default editor, feel free to pick whatever you want. I kept vim because I know it (barely) well enough to edit git comments.
Continue the installation process, accepting all the defaults.
Download Pico SDK and Examples
The Pico SDK conains a collection of tools and libraries used to make developing on the Pico (and RP2040) much easier. We can also download a set of C/C++ examples that are useful demonstrations of how to use the SDK.
To start, create a new folder named pico in C:\VSARM\sdk.
While you could download the .zip versions of the SDK and examples repositories, it’s much easier to use git. There are nested submodules that you would need to download from other repositories, but one command in Git Bash takes care of that for us.
Open Git Bash and enter the following commands.
cd /c/VSARM/sdk/pico git clone -b master https://github.com/raspberrypi/pico-sdk.git cd pico-sdk git submodule update --init cd .. git clone -b master https://github.com/raspberrypi/pico-examples.git
At this point, you should have all of the necessary build tools, SDK, and examples installed to start developing programs for the Raspberry Pi Pico and RP2040.
Update Environment Variables
Some of the tools we installed automatically updated the Windows environment variables (specifically, the Path). However, a few (like MinGW and the SDK) did not. We need to update the environment variables so that the shell and various build tools know where to find things in our filesystem.
In the Windows search bar, enter env. Click on Edit the system environment variables.
In that window, click on Environment Variables…
Under User variables for <username>, select Path and click Edit.
Add C:\VSARM\mingw\mingw64\bin as a new entry. This will allow us to use things like gcc and ld to build C and C++ programs for Windows.
Make sure you see the following entries listed:
- C:\VSARM\armcc\<release version>\bin
- C:\VSARM\mingw\mingw64\bin
You might see an entry for Python3x (e.g. Python39 or Python312) if you chose to install Python for the current user (as I did).
Click OK to exit the user Path window.
Under User variables for <username>, click New… and add the following entry:
- Variable name: PICO_SDK_PATH
- Variable value: C:\VSARM\sdk\pico\pico-sdk
Click OK to save the environment variable. At this point, your User Variables should have an updated Path as well as PICO_SDK_PATH variables.
Under System variables, select Path and click Edit. Check to make sure you see the following entries (add them if you do not see them):
- C:\Program Files\CMake\bin
- C:\Program Files\Git\cmd
These entries should have been automatically added to your system-wide Path when you ran their installers. You might also see an entry for Python39 (or Python312) if you chose to install Python for all users.
Click OK on all 3 of the open windows to close them and save changes.
At this point, you should be able to open a commend prompt and enter commands like gcc
, make
, and echo %PICO_SDK_PATH%
to make sure the environment variables were set correctly.
Install VS Code
Visual Studio Code (VS Code) is a great, cross-platform text editor that offers highly configurable plugins. With the right plugins, you can essentially turn VS Code into a full-fledged integrated development environment (IDE) with step-through debugging! I’ll only show the basics for now so you can get your VS Code on Windows to act like VS Code on other operating systems when working with the Pico.
Head to code.visualstudio.com and download the latest release for Windows.
Run the installer and accept all of the defaults. You’re welcome to create a desktop icon and add “Open with Code” to the Windows Explorer context menu. I like to enable these options, but they’re not necessary.
When the installer is done, it’s time to test building a program for the Pico.
Build Blink Example
You should be able to build Pico code from any command prompt at this point. However, we’re going to do so in VS Code to show how it might be done during development.
Open VS Code. Click Terminal > New Terminal. The default terminal that opens is likely Windows PowerShell. I recommend changing this to Git Bash (or WSL) by clicking on the drop-down menu and selecting New Git Bash.
Just like we did with the make.bat file (for Windows terminals), I recommend creating an alias for mingw32-make.exe in Git Bash. Enter the following commands (you will only need to do this once):
echo "alias make=mingw32-make.exe" >> ~/.bashrc source ~/.bashrc
Build the blink example by entering the following commands into your terminal:
cd /c/VSARM/sdk/pico/pico-examples/ mkdir build cd build cmake -G "MinGW Makefiles" .. cd blink make
Important! Any time you call CMake from a terminal like this, you will need to specify “MinGW Makefiles” as the build system generator (-G option).
This should build the blink example and generate the .elf, .hex, and .uf2 binary files. We can easily upload the .uf2 file to our Pico without any special tools.
Put the Pico board into bootloader mode (press and hold the BOOTSEL button while plugging a USB cable into the Pico).
Find which drive letter the RPI-RP2 drive is mounted to (e.g. it was G: for me). Enter the following into Git Bash (change the drive letter as necessary):
cp blink.uf2 /g/
Your Pico board should be blinking away!
I hope this has helped you get started using the Raspberry Pi Pico SDK on Windows! I personally found that relying on MinGW for the compiler tools was easier than using Build Tools for Visual Studio.
From here, you can set up VS Code any way you like with various plugins like CMake Tools. I did not cover setting up debugging and other tools (picotool, gdb, OpenOCD, etc.), which are topics for another time. For now, I recommend referring to the Pico C/C++ Getting Started Guide to see how to configure those tools in VS Code.
Happy hacking!
[Update May 23, 2021] Since posting this, I have made a video (for Digi-Key) that shows you how to use VS Code plugins for one-click CMake and building. You can see that video here.